
Last updated October 15, 2026
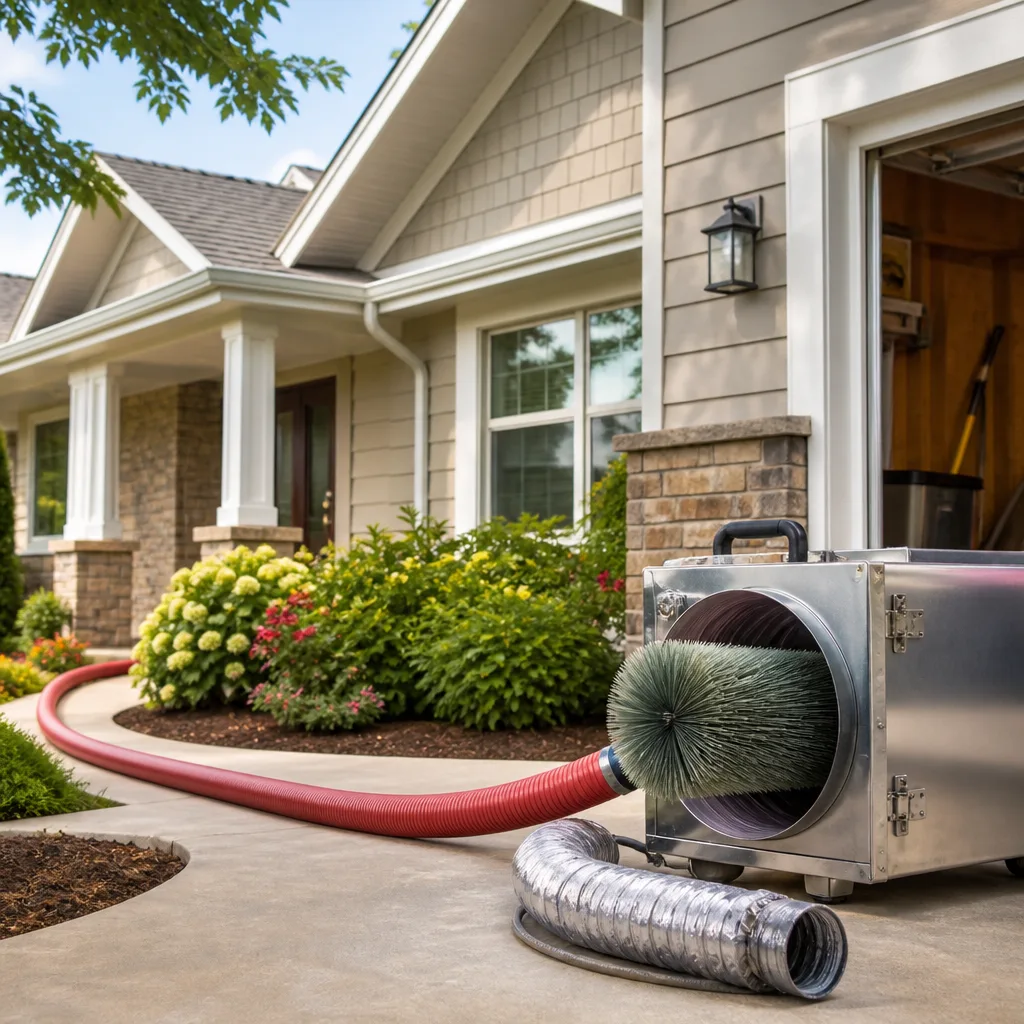 Whole-home duct cleaning
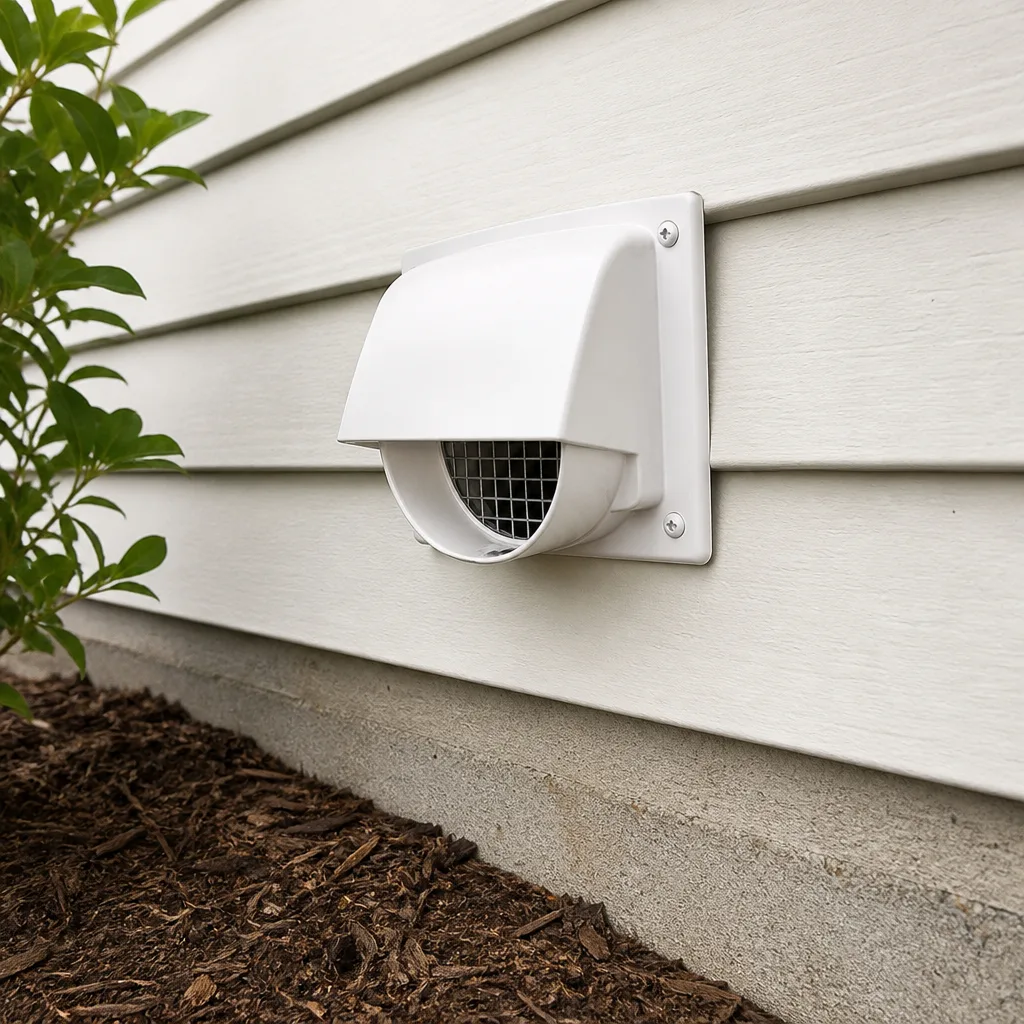 Dryer vent cleaning
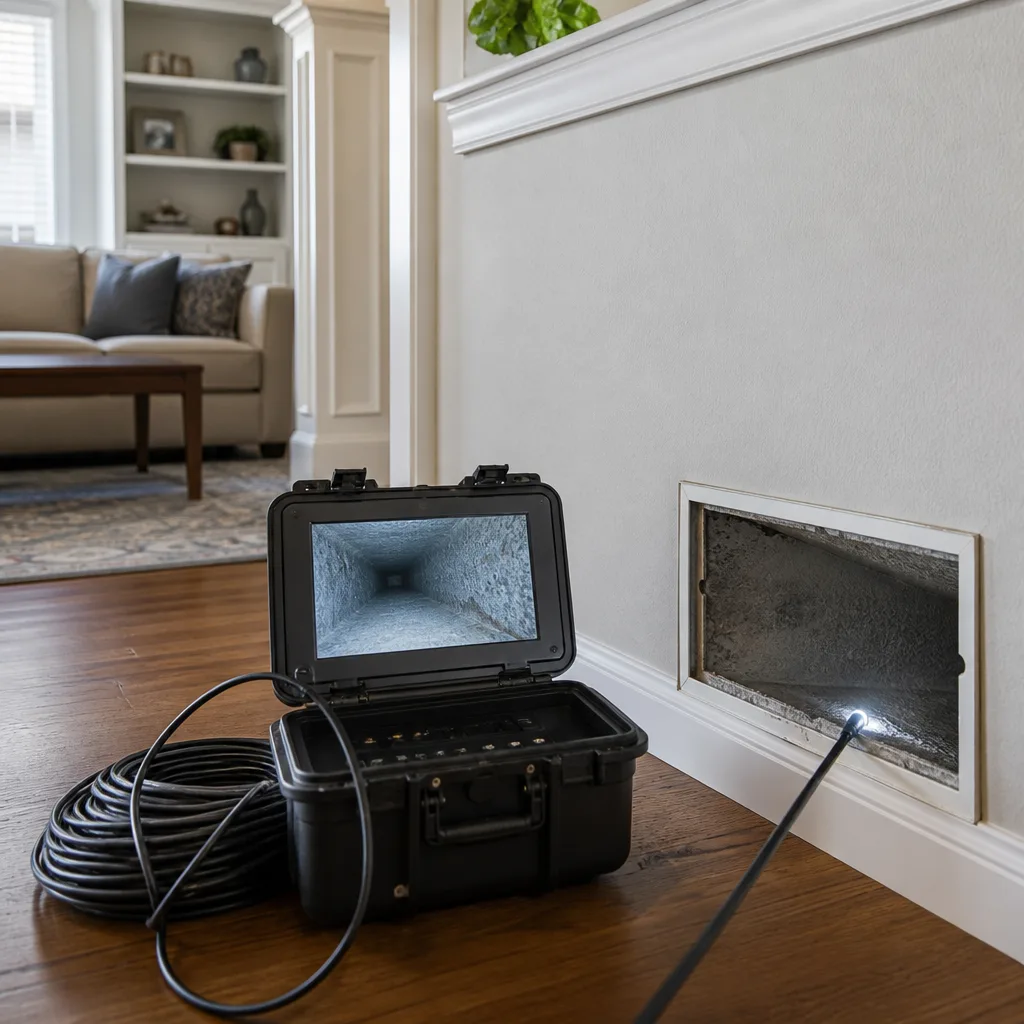 Camera inspection
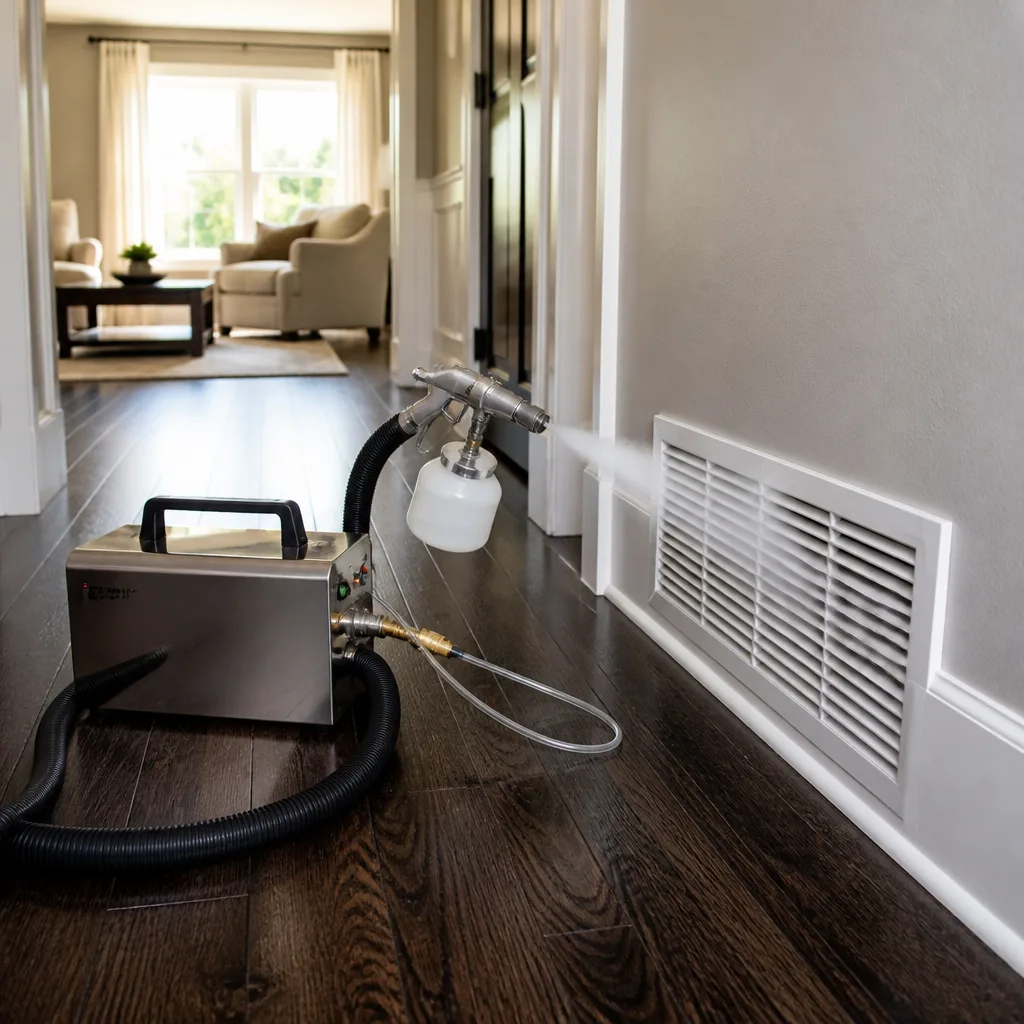 Sanitizing & deodorizing
Whole-system duct and dryer vent check with before-and-after photos - you see exactly what came out of your vents
That "$99 whole-house special" is a bait ad - the real number appears once they are in your hallway, or the "clean" is a shop-vac at the register. We photograph the inside of your ducts before and after instead.
DIY vs Professional Air Duct Cleaning: The San Francisco Homeowner’s Decision Guide
Every DIY air duct cleaning video on YouTube shows the same thing: someone crouching at an open floor register, jamming a shop vac hose into the gap, and declaring the job done. Here’s the part those videos never mention: the register opening is roughly fifteen percent of your duct system, and it’s the fifteen percent that matters least. The contamination that actually changes the air you breathe in a San Francisco home – the dust, the construction debris from a hundred years of remodels, the fine particulate that settles in the main trunk lines – sits twenty feet away from that register, beyond the reach of any consumer tool. This guide maps exactly where DIY stops being useful and where professional equipment becomes the only thing that can reach the problem. For more guides & resources, visit our blog.
Quick Answer
You can clean the parts of your air ducts you can physically reach – roughly 15% of the system, mostly the register boots and the first few inches of visible duct – and doing that between professional cleanings is genuinely worthwhile maintenance. But the main trunk lines, return drops, and interior duct surfaces that hold most of the contamination require negative-pressure extraction equipment that no consumer tool replicates. In San Francisco, where many homes have older duct systems routed through tight crawl spaces and sloped attics, professional air duct cleaning typically costs $400 to $800 for a full system, and the honest answer is that hiring a pro isn’t a luxury – it’s the only way to clean the other 85%.
Styles & brands we work with
Table of Contents
- The Anatomy of What You’re Actually Trying to Clean
- What DIY Can Actually Reach: A Component-by-Component Map
- The Equipment Threshold: Why Negative-Pressure Extraction Changes Everything
- How San Francisco Housing Stock Changes the DIY Math
- When DIY Is Genuinely Sufficient: Maintenance Between Professional Cleanings
- When DIY Creates a Worse Outcome Than Doing Nothing
- How to Evaluate a Professional Quote Against Real Scope of Work
- What Air Duct Cleaning Actually Costs in San Francisco
The Anatomy of What You’re Actually Trying to Clean
Before you can decide what’s reasonable to clean yourself, you need to know what a duct system actually looks like – not the diagram on a home inspection report, but the physical reality of what’s running through your walls, floors, and ceilings. A residential forced-air system in San Francisco has six distinct components, and they collect contamination at very different rates.
The supply registers are the metal or plastic grilles you see in each room. These catch hair, dust, and debris that falls in from the living space. They’re easy to remove and clean, and you should be doing this regularly.
The register boots are the metal boxes directly behind those grilles. They’re shallow – usually six to eight inches deep – and they collect a surprising amount of debris because they sit right at the floor level where dust settles. This is the deepest point most homeowners can meaningfully reach.
The branch ducts are the smaller-diameter runs that connect each boot to the main trunk line. In most San Francisco homes, these are flexible insulated ducts (flex duct) made of a wire coil wrapped in plastic and insulation. They run through walls and floors, they bend around framing, and they’re completely inaccessible without professional tools.
The main trunk lines are the large-diameter arteries that run horizontally through your crawl space, basement, or attic. In a typical San Francisco Edwardian or Victorian, the trunk line runs the length of the house and carries the bulk of the system’s airflow – which means it also carries the bulk of the contamination. This is where the problem lives, and it’s the part of the system a shop vac can’t touch.
The return air drops are the pathways that pull air back from your living space to the furnace or air handler. They’re usually larger than supply ducts, they’re often located in central hallways, and because they carry un-filtered air from the house, they accumulate the same dust and debris as the rest of the system – often faster.
Finally, the air handler / furnace cabinet itself – the blower fan, the evaporator coil if you have AC, the filter housing – is ground zero for dust accumulation. This is also a component that’s genuinely dangerous to clean incorrectly, because you’re working around electrical connections and moving parts.
Here’s the key number: the parts a homeowner can see and reach from the living space – the register grilles and the first few inches of the boot – represent roughly 15% of the total interior surface area of a typical system. The rest is invisible, inaccessible, and doing exactly what your HVAC system does best: accumulating fine particulate. If you’d like a professional assessment of what’s actually in your ducts, Air Duct Cleaning in San Francisco starts with a camera inspection so you can see the condition of your system before deciding on next steps.
What DIY Can Actually Reach: A Component-by-Component Map
Let’s be specific about what you can and cannot clean meaningfully with consumer equipment. This isn’t a lecture about why you shouldn’t try – it’s a map of where effort pays off and where it’s wasted.
- Register grilles and covers: Fully cleanable. Remove them, wash them in warm soapy water, let them dry completely, and vacuum the visible opening behind them. This takes ten minutes per room and genuinely helps airflow.
- Register boots (the visible box behind the grille): Partially cleanable. You can reach in with a vacuum hose and remove loose debris. You cannot clean the interior walls of the boot thoroughly, and you cannot reach past the boot into the branch duct.
- Branch ducts: Not cleanable without professional equipment. The interior is beyond any consumer tool’s reach, and attempting to force a brush or vacuum attachment through a flex duct risks tearing the inner liner.
- Main trunk lines: Completely inaccessible without professional negative-pressure equipment and access holes. No consumer tool can reach the center of a trunk line.
- Return drops: Same as trunk lines – inaccessible. You can vacuum the return grille and the visible chamber behind it, but the drop itself requires professional access.
- Air handler, evaporator coil, and blower: Not a DIY job. The coil is fragile, the blower is heavy and awkward to remove, and there are live electrical connections involved. This is a component where DIY attempts regularly end in damaged equipment or worse.
Our service area covers the full range of San Francisco’s housing stock, from the Marina’s 1930s flats to the Sunset’s post-war row houses, and the physical layout changes dramatically from one neighborhood to the next. A duct system in a Noe Valley Victorian built in 1908 has almost nothing in common, structurally, with a system in a St. Francis Wood home built in 1950. What they share is this: the parts you can clean from inside the house are the same parts everyone can clean, and they’re a small fraction of the total system. If your system has gone years without professional attention, Air Duct Repair in San Francisco might also be worth exploring alongside cleaning, especially if you’ve noticed airflow problems in specific rooms.
The Equipment Threshold: Why Negative-Pressure Extraction Changes Everything
Professional duct cleaning isn’t just a stronger vacuum. It’s a fundamentally different mechanical process, and understanding the difference is the key to making an honest DIY-vs-pro decision.
A shop vac – even the most powerful consumer model – works by suction alone. It pulls air in through a small hose and traps debris in a filter. The problem is physics: a portable vacuum’s suction power drops off dramatically with distance, and its hose diameter is small enough that it can only pull loose debris that happens to sit within a few inches of the hose end. It can’t agitate, it can’t dislodge, and it can’t create the airflow volume necessary to move debris through a long duct run.
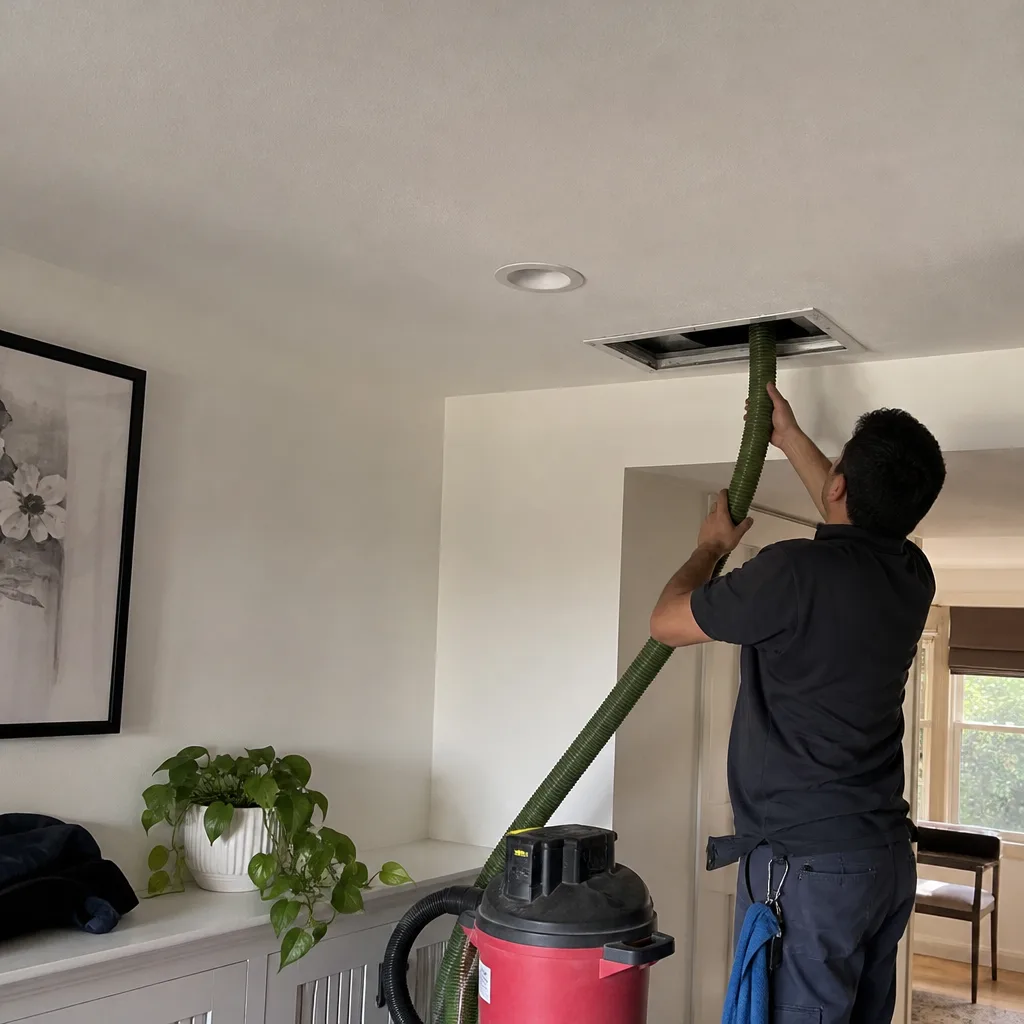
A professional system works on negative-pressure extraction. The technician connects a powerful vacuum unit – either a truck-mounted diesel unit or a high-output portable unit – directly to the duct system, usually at the air handler or through an access hole cut into the trunk line. This creates negative pressure throughout the entire duct system: the system is sealed at every register, so the only air moving through the ducts is air being pulled toward the vacuum unit.
Once that negative pressure is established, the technician feeds a rotating brush system through the ducts from the register openings. The brush agitates the interior surfaces – dislodging the fine particulate that’s adhered to the duct walls – and the negative pressure pulls that dislodged debris down the duct and into the vacuum unit’s filtration system. Nothing escapes into the house, because the entire system is under suction.
The equipment brands matter here. We use professional-grade negative-pressure systems from Rotobrush and Nikro – trade-built machines designed for this exact application, not adapted shop vacs. The brush systems are sized to the duct dimensions, the vacuum units are rated for the airflow volume of a whole-home system, and the filtration captures what’s removed rather than venting it back into your living space. These same trade standards apply to the air-quality products we work with from Honeywell, Aprilaire, and Abatement Technologies – equipment built for professional use, not consumer substitutes.
Here’s the summary: a professional system creates suction throughout the entire duct network while agitating the interior surfaces mechanically. A shop vac creates suction at a single point. Those are different jobs, and the difference is why professional cleaning reaches the other 85%.
How San Francisco Housing Stock Changes the DIY Math
San Francisco’s housing stock is old, dense, and architecturally varied, and that physical reality changes what duct cleaning requires. For seasonal timing tips, see our Seasonal Air Duct Cleaning Care for San Francisco: Year-Round Homeowner’s Guide. If you live in a newer single-family home in the East Bay with an attic-mounted system and straight duct runs, the DIY-vs-pro calculation is different than it is in a three-story Richmond District row house with ducts running through walls built in 1924.
Three characteristics of San Francisco homes make professional cleaning more valuable, not less:
Age of the ductwork. A significant percentage of San Francisco homes still have original or decades-old duct systems. Ducts installed before modern sealing standards leak air at the joints, which means they pull in dust from the crawl space, the wall cavities, and the building envelope. Older duct interiors also tend to have rougher surfaces – rust, old adhesive residue, fiberglass liner that’s started to break down – which trap and hold particulate more effectively than smooth modern duct. Professional agitation and extraction removes what years of leakage have deposited. DIY cleaning at the registers doesn’t touch it.
Access constraints. San Francisco homes are built tight. Crawl spaces are low, attics are sloped and cramped, and duct runs often snake through spaces that were never designed for access. Professional technicians drill access holes at strategic points and seal them properly afterward. A homeowner doesn’t have that option, and shouldn’t attempt to create it – cutting into a duct without knowing the system’s layout is a fast way to turn a cleaning job into a repair job.
Fog, moisture, and the marine layer. San Francisco’s climate creates conditions that affect what accumulates in ducts. The city’s famous fog keeps indoor humidity higher than in inland California, and moisture plus dust equals caked-on debris that adheres to duct surfaces rather than sitting loose. Loose debris is what a consumer vacuum can pull out. Adhered debris requires mechanical agitation to dislodge – which is exactly what professional brush systems provide. This is also relevant to dryer vents: Dryer Vent Cleaning in San Francisco matters more in a humid, fog-prone climate where lint compacts faster and moisture makes it cling. For most San Francisco homeowners, the DIY-accessible portion of the system is an even smaller percentage of the task than the national average.
When DIY Is Genuinely Sufficient: Maintenance Between Professional Cleanings
None of this means homeowners should skip the DIY work entirely. The opposite is true: the maintenance you do between professional cleanings extends the interval, reduces what accumulates, and makes each professional visit more effective. Here’s what’s genuinely worth doing yourself.
Step 1: Clean your register grilles every 60 to 90 days. Remove each grille, wash it with warm soapy water, dry it completely before reinstalling. This prevents visible dust accumulation from falling back into the system and keeps airflow consistent.
Step 2: Vacuum the visible boot interior whenever you clean the grille. Use the crevice tool on your vacuum, not the wide floor head. Remove loose debris only – don’t attempt to scrub, don’t insert anything flexible too far into the duct, and never force a tool past the boot into the branch duct.
Step 3: Replace your air filter on a strict schedule. This is the single most important maintenance task, and it’s the one most commonly neglected. A MERV 8 filter changed every 60 days is realistic for most San Francisco homes. If you’re buying higher-MERV filters, check that your system can handle the added static pressure first – an airflow restriction from an over-specified filter creates its own set of problems.
Step 4: Check for visible debris in the return grille. If your return is in a hallway, it’s pulling air from the busiest part of the house and will accumulate dust faster than the supply registers. Vacuum the visible chamber and wipe down the grille. If you’re seeing visible dust caked on the return grille between professional cleanings, that’s a sign your system is pulling in air from somewhere it shouldn’t be – and worth asking a professional about.
Step 5: Keep the area around your registers clear. Furniture, rugs, and boxes pushed against a return or supply register restrict airflow and create localized dust accumulation. A few inches of clearance makes a measurable difference.
Do these five things on schedule, and you’re doing the maintenance that’s actually within your reach. You’re not cleaning the duct system – you’re preventing the visible surfaces from contributing to the problem, and you’re giving the professional cleaning a cleaner starting point. That’s useful work. But it’s a different task than cleaning the system, and treating it as a substitute for professional attention is where the math stops working.
When DIY Creates a Worse Outcome Than Doing Nothing
There’s a seductive logic to trying to clean your own ducts: doing something feels better than doing nothing. But there are specific scenarios where DIY duct cleaning leaves the system worse than you found it. Here they are.
Disturbing settled debris without capturing it. When you insert a vacuum hose into a duct, you’re agitating the dust you can reach. But much of that dust isn’t pulled into the vacuum – it’s stirred up and pushed deeper into the system by the airflow, or it settles back onto surfaces it would have stayed away from. Consumer vacuums don’t capture what they dislodge. They just move it around. The result is that your next furnace cycle blows that newly disturbed particulate back into your living space.
Damaging flex duct liners. Most modern branch ducts are flexible insulated ducts with a thin plastic or foil inner liner. That liner is fragile. If you push a rigid tool, a long brush, or even a stiff vacuum attachment past the boot into the branch duct, you risk tearing the liner. A torn liner creates an air leak, which pulls unfiltered air from wall cavities and crawl spaces into your system – and turns a cleaning attempt into a repair need. This is a very common call for us: a homeowner pushed a brush too far, heard a rip, and now has a room that’s suddenly drafty.
Voiding HVAC warranties. Many furnace and air handler manufacturers explicitly state in their warranty documentation that unauthorized work on the duct system voids coverage. If you cut into a duct, remove an access panel incorrectly, or damage a component while attempting DIY cleaning, and your system is still under warranty, you’ve potentially given up coverage that would have paid for the repair.
Working near the air handler with live electrical connections. This is the safety-critical one. The furnace cabinet contains line-voltage connections, a moving blower wheel, and in many systems, a gas burner assembly. We are not going to give DIY instructions for cleaning inside the cabinet, because this is a place where the risk of electrical shock or damage to a critical component is real. The blower and coil cleaning is a professional task, full stop. If you believe your system’s problem originates inside the cabinet, the correct move is to call someone qualified.
The common thread across these scenarios: the point where DIY duct cleaning goes wrong is the point where you move past the registers and boots into the system itself. The 15% you can reach is safe to clean. The other 85% is where the professionals work, and the equipment threshold is not a marketing distinction – it’s a physical one.
How to Evaluate a Professional Quote Against Real Scope of Work
If you’ve decided to hire a professional, the next decision is who to hire – and in the duct cleaning industry, quotes vary widely because the scope of work varies widely. For guidance, see our How to Hire a Air Duct Cleaning Contractor in San Francisco: A Step-by-Step Guide. Here’s how to read a quote against the realities of what the job actually requires.
First, ask what the quote includes. A legitimate whole-system cleaning in a typical San Francisco home includes: cleaning all supply ducts, all return ducts, all register boots, both sides of the air handler (if accessible), and the blower fan and coil where present. It includes sealing the system and running negative pressure throughout. If a quote doesn’t specify the number of registers, the number of returns, and whether the blower and coil are included, ask. If the answer is vague, keep looking.
Second, ask about equipment. The company should be able to name the equipment they use. Professional negative-pressure systems – we use Rotobrush and Nikro equipment – are engineered for whole-system extraction. If a company shows up with a shop vac and some brushes, that’s not professional duct cleaning, and the quote should reflect that.
Third, ask about post-cleaning proof. The standard of proof – what separates a real cleaning from a vague promise – is before-and-after photography. Any legitimate duct cleaning company should be able to show you photos of the inside of your ducts, taken with a camera inspection system, before and after the work. If a company can’t or won’t provide this, you have no way to verify the job was actually done. We take this seriously enough that it’s built into our process: every job includes before-and-after photos of the duct interiors, and we stand behind the results with the 365-Day Done Right Promise – if the work isn’t right, we make it right, backed in writing on every job.
Fourth, ask for a written price before work begins. This sounds obvious, and it should be. But the duct cleaning industry has a reputation for bait-and-switch pricing – a low promotional figure that becomes a much larger invoice once the technician is standing in your living room. The fix is simple: every Linden Air Duct San Francisco job gets a written price before any work begins, every single time. No exceptions. If another company won’t put the price in writing before they start, that’s your signal to end the conversation.
Fifth, ask about who is coming to your door. The person you invite into your home should be someone you can verify. We operate to the Threshold Standard: every technician is background-checked, identity-verified, photo-badged, and introduced to you by name and photo before arrival. The technician shows a photo ID badge at the door. If a company can’t tell you who will be arriving before they arrive, that’s a gap in their process that matters more than any equipment spec. If you’d like a quote for your home, Linden Air Duct San Francisco home is the place to start, or call us directly.
Sixth, ask what happens if it goes wrong. Repair work should always come with a written guarantee. At Linden Air Duct San Francisco, every air duct repair includes a written guarantee, and a free second visit if the repair doesn’t hold. That’s not a promotional offer – it’s standing policy. A company that won’t stand behind its repairs in writing is telling you something about how they’ll handle problems after they’ve been paid.
What Air Duct Cleaning Actually Costs in San Francisco
Let’s get specific about dollars. In San Francisco, here’s what you should expect to pay for professional whole-system air duct cleaning in 2026:
- Small apartment or condo (up to 8 registers): $350 to $500
- Typical single-family home (9-14 registers): $450 to $700
- Larger home or multi-story with returns on every floor (15+ registers): $600 to $900
- Adding dryer vent cleaning: $75 to $150 additional
- Adding blower and coil cleaning (when accessible): $100 to $200 additional
- Air duct repair, if damage is found during inspection: quoted separately, always with a written quote before work begins
These are whole-system prices: the full job, every register, every return, before-and-after photos, no per-vent upselling, no surprise line items. The total price is put in writing before work starts, and that’s the price you pay.
Why the range? Because San Francisco homes differ enormously in system size, accessibility, and condition. A one-bedroom condo in SoMa with six registers is a different job than a four-story Pacific Heights Victorian with returns on every floor, a crawl-space trunk line, and ductwork that’s been accumulating since the Clinton administration. The honest answer is that the only way to get a precise price is to have the system inspected – and any company quoting you a firm price sight-unseen is guessing, or pricing high enough to cover the unknowns.
Here’s what a fair quote gets you in exchange for that money: negative-pressure extraction throughout the system, mechanical agitation of all duct interiors, cleaning of all boots and registers, and photographic proof of the work. That’s the line item that matters. If a quote is significantly cheaper, ask what they’re leaving out – because something is being left out.
Common Mistakes to Avoid
- Believing a shop vac can clean your ducts. A shop vac reaches the visible register boot and nothing else. It doesn’t create negative pressure, it doesn’t agitate the full duct run, and it doesn’t capture what it disturbs.
- Pushing a brush or vacuum attachment past the register boot. Flex duct liners tear easily, and a torn liner is a repair job with a bigger invoice than the cleaning you were trying to save on.
- Hiring the cheapest quote without asking what’s included. In San Francisco’s duct cleaning market, the low quote usually means a subset of the job – supply ducts only, or registers only, or a low-ball figure that grows once the technician is on site.
- Not asking for before-and-after photos. If a company won’t show you the inside of your own ducts before and after the work, you have no verification the cleaning actually happened. This is the single most useful question you can ask.
- Ignoring the air filter year-round. A clogged filter forces your system to pull air around the filter media, which means unfiltered air moving through your ducts. That makes every other problem worse, and it’s the one maintenance item that’s entirely in your control.
- Treating duct cleaning as a one-time event. The system runs year-round in San Francisco. The NADCA recommendation is cleaning every 3 to 5 years, and in foggy, high-humidity conditions, the lower end of that range is more realistic.
- Skipping dryer vent cleaning because the dryer “works fine.” Lint accumulation in a dryer vent builds up over years, and the vent is a fire hazard long before the dryer shows performance problems. In our experience, San Francisco homes with rooftop or long-run dryer vents need attention more frequently than homeowners expect.
See the difference
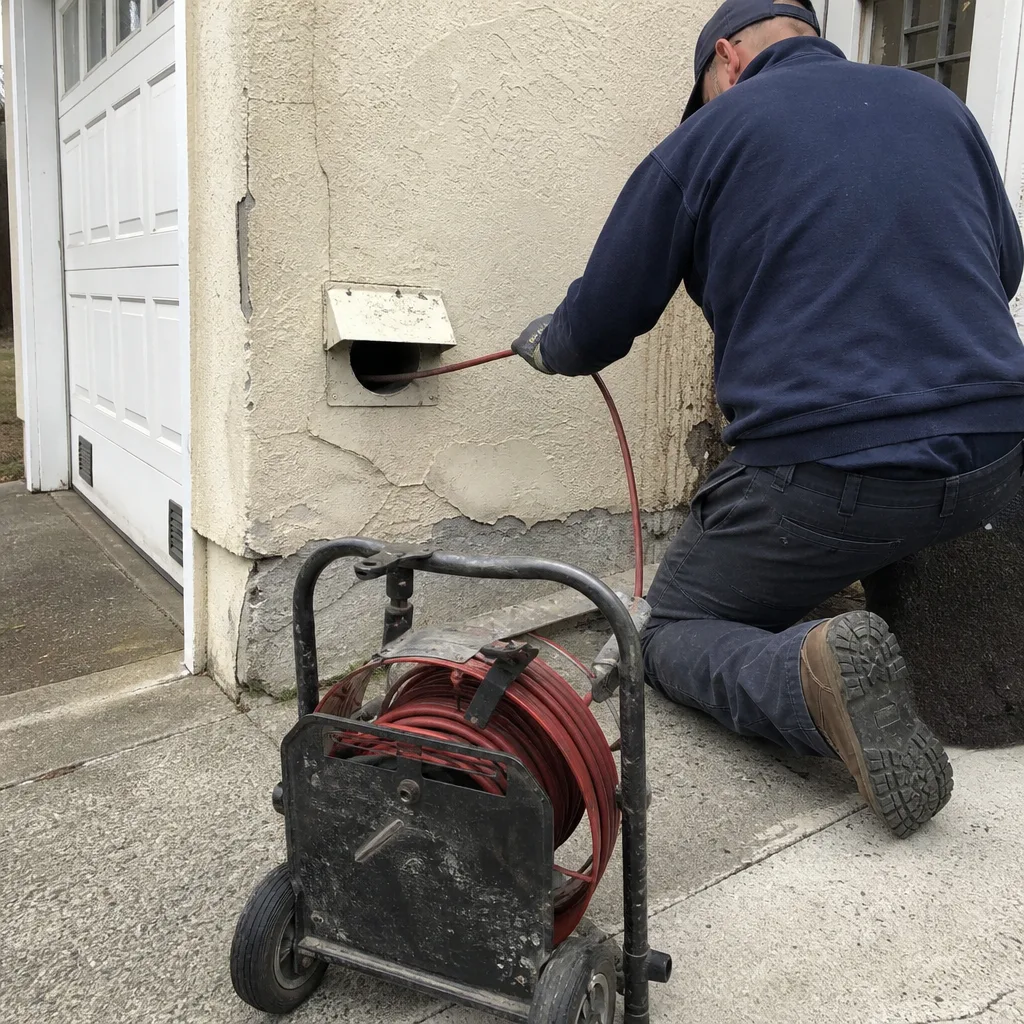 Before
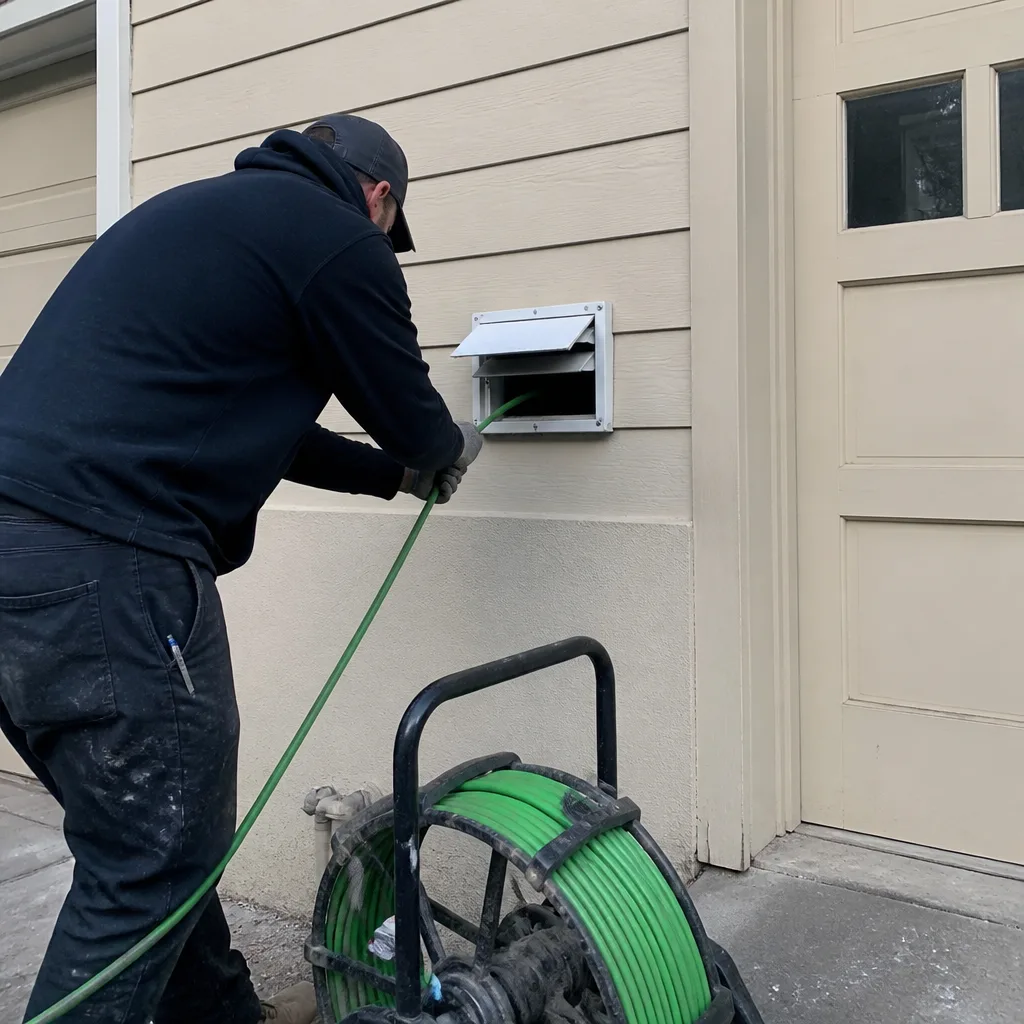 After
After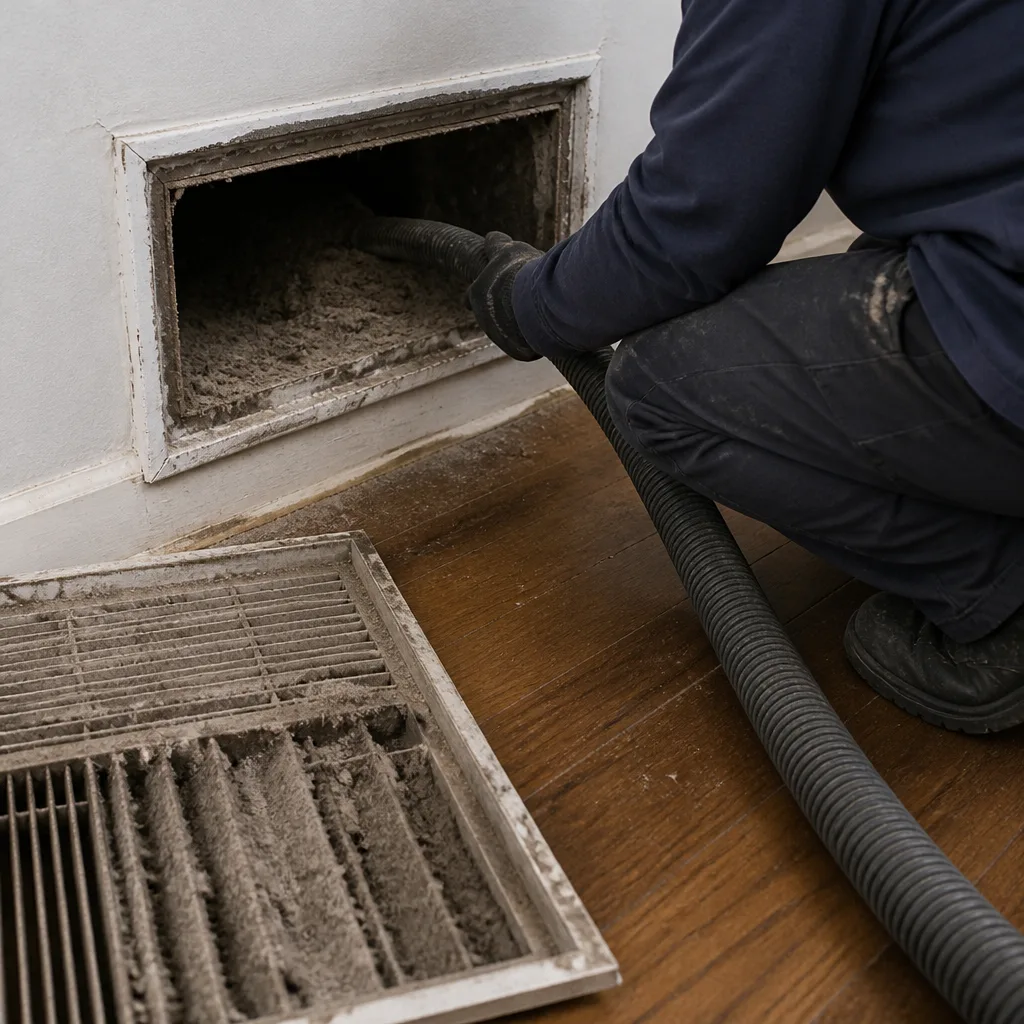 Before
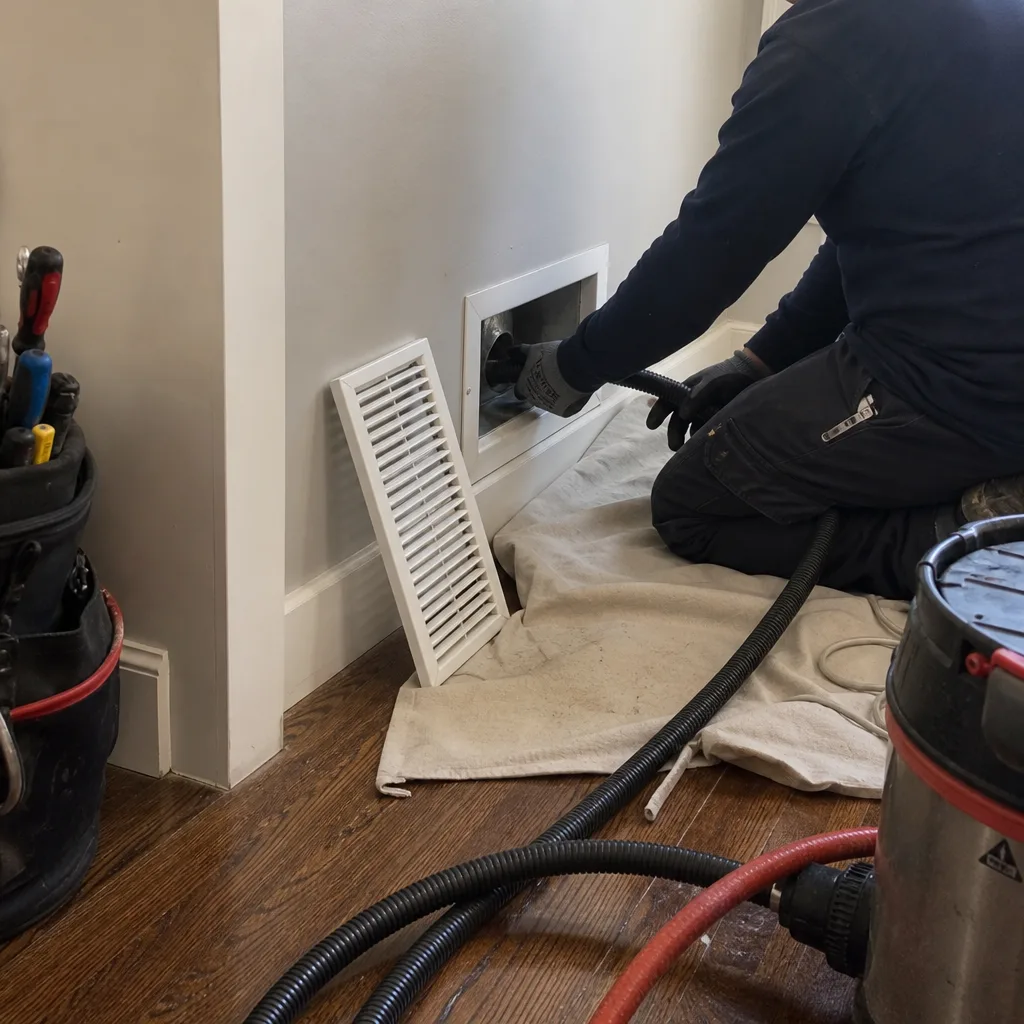 After
After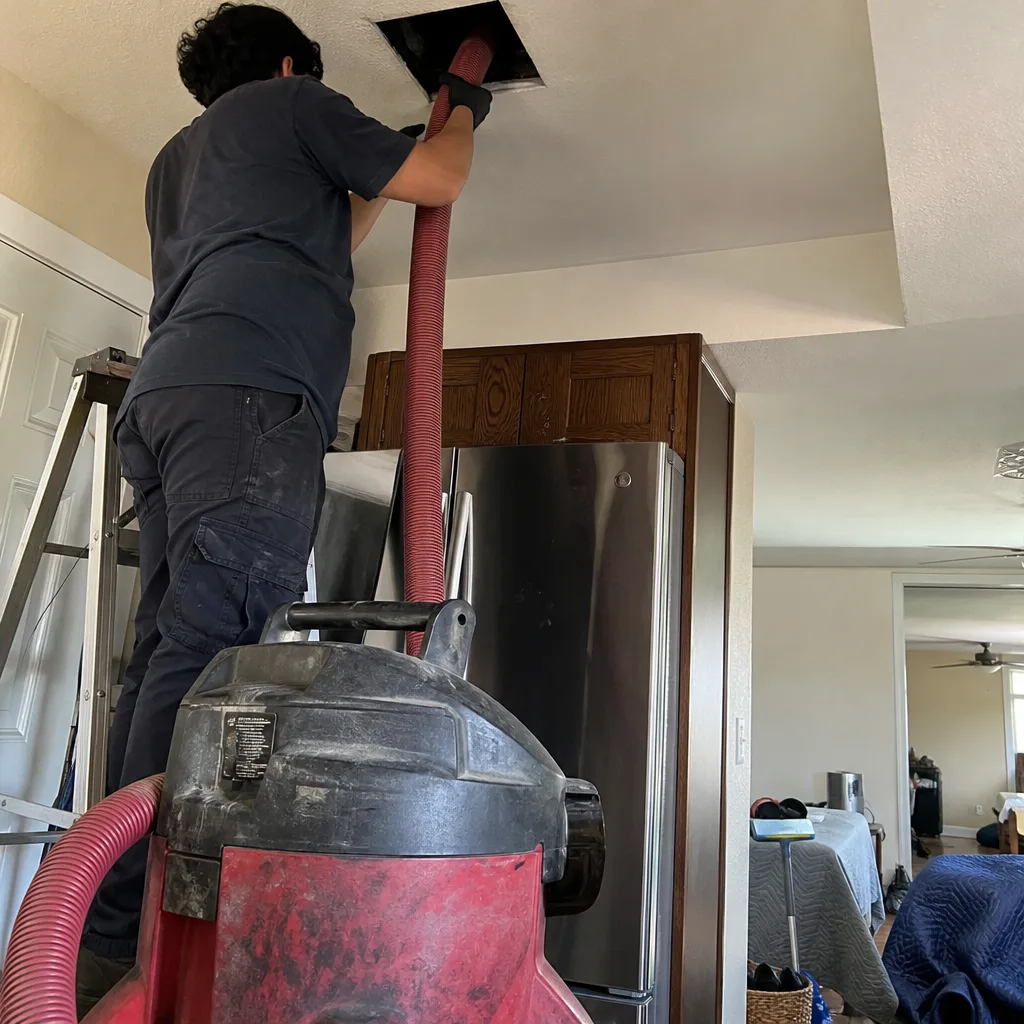 Before
 After
AfterWhen to Call a Professional
Call a professional if you see visible dust blowing from your registers when the system starts up, if you’ve had recent construction or remodeling in the home (San Francisco permits mean drywall dust, and drywall dust gets into everything), if rooms in your home are consistently dustier than others, if you have unexplained allergy symptoms that improve when you’re away from home, or if your home has gone five or more years without any duct attention. Linden Air Duct San Francisco provides free estimates in San Francisco – call (951) 527-6259 for an honest conversation about whether your system needs attention. You can also call this number any time, day or night, and reach a live person – no voicemail loops, no automated systems.
Frequently Asked Questions
You can clean the visible register boots and grille openings with a shop vac, which represents about 15% of your duct system’s interior surface. The remaining 85% – the branch ducts, main trunk lines, and return drops – requires negative-pressure extraction equipment that connects to the system and pulls debris from the entire duct run, which no consumer vacuum can replicate. For the parts you can reach, see our maintenance steps above; for everything else, professional equipment is the only option.
In San Francisco, professional whole-system air duct cleaning typically costs $450 to $700 for a standard single-family home with 9 to 14 registers, with smaller condo units starting around $350 and larger multi-story homes running up to $900. The price includes every register, every return, and before-and-after photos, and it’s put in writing before any work begins. Call (951) 527-6259 for a free estimate specific to your home’s system size.
The National Air Duct Cleaners Association recommends professional duct cleaning every 3 to 5 years, and San Francisco’s fog and high humidity tend to push homes toward the shorter end of that range because moisture causes dust to adhere to duct surfaces. Homes with pets, recent remodels, or smokers should consider cleaning every 2 to 3 years. Between cleanings, the register maintenance and filter replacement routine described above extends the interval.
Cheaper quotes almost always mean a smaller scope of work: supply ducts only instead of supply and return, registers only instead of the full system, or a low-balled introductory figure that grows with add-ons once the technician is on site. The meaningful comparison points are whether the quote includes all returns, both sides of the air handler, before-and-after photos, and a written price before work starts. If those are missing, the cheaper quote isn’t cheaper – it’s a different, smaller job. Call (951) 527-6259 and we’ll walk you through what a complete scope looks like for your specific system.
Demand before-and-after photographs of the duct interiors, taken with camera inspection equipment. A legitimate duct cleaning company should be able to show you the condition of your ducts before and after the work, and should offer to walk you through what the photos show. At Linden Air Duct San Francisco, this is standard practice on every job, and it’s backed by the 365-Day Done Right Promise: if the work isn’t right, we make it right, in writing.
It can. Many furnace and air handler manufacturers include clauses in their warranty documentation stating that unauthorized work on the duct system – including modifications, cutting into ducts, or damage caused by improper cleaning methods – voids coverage. Before attempting any DIY work beyond simple register maintenance, check your system’s warranty documentation. Professional duct cleaning performed by a qualified company does not typically affect warranty coverage, and a professional will know what’s serviceable without damaging what they’re working on.
The Bottom Line
The DIY-versus-professional question isn’t a binary choice. The useful answer is that you should absolutely do the maintenance you can do: clean your registers, vacuum the visible boots, change your filters on schedule, and keep the area around your grilles clear. That work is real, and it extends the interval between professional cleanings. But the parts of a San Francisco duct system that actually hold contamination are the parts you can’t reach, and they require negative-pressure extraction equipment that operates on a fundamentally different mechanical principle than any consumer tool. If your home hasn’t had professional duct cleaning in three or more years, the honest next step is an inspection, a written price, and a clear scope of work. That’s how you make this decision based on what’s true about the system you live with, not what’s convenient to believe about the job.
Written by Marcus Veale, Owner at Linden Air Duct San Francisco, serving San Francisco since 2004.